Easy Lemon Curd

Easy Lemon Curd

I had to check my typing and make sure I did not title this post Easy Lemon Crud.  Because I have crud on my mind.  Our house has become a breeding ground for crud and crap thanks to the germs that our Tater Tot brings home from daycare.  Jokingly, the Mistah and I have taken to calling her Patient Zero every time she coughs in our face.  This is what happens when you watch Contagion, become acutely aware of how easily germs get transmitted, and spend a lot of up close and personal time with a germ spreader.

But you didn’t come here to read about crud.  No, I lured you here with the promise of easy lemon curd.

What I am about to say is meant as a compliment….this curd makes me think of the Tastycake Lemon pies that would sometimes find their way into my hands as a youngster.  These are not be confused with those other hand pies.  The ones that were drowned in a sugary glaze to mask the stale taste of dry pastry.  Sorry Hostess, I never was a fan.

Golden rectangles of thin crust sandwiching smooth, sweet filling with a hit of puckery tang….oh yeah, that’s the ticket.  Thanks to Southern Living, I can whip  up a batch of lemony happiness whenever the mood strikes me.  But since I can’t be trusted not to stand in front of the open refrigerator and eat this by the spoonful out of the container, I often need to ignore this mood when it strikes.

Instead, I go snuggle with Patient Zero.  It’s a different kind of happiness…crud, germs, and all.

Easy Lemon Curd

Adapted from Southern Living, February 2013

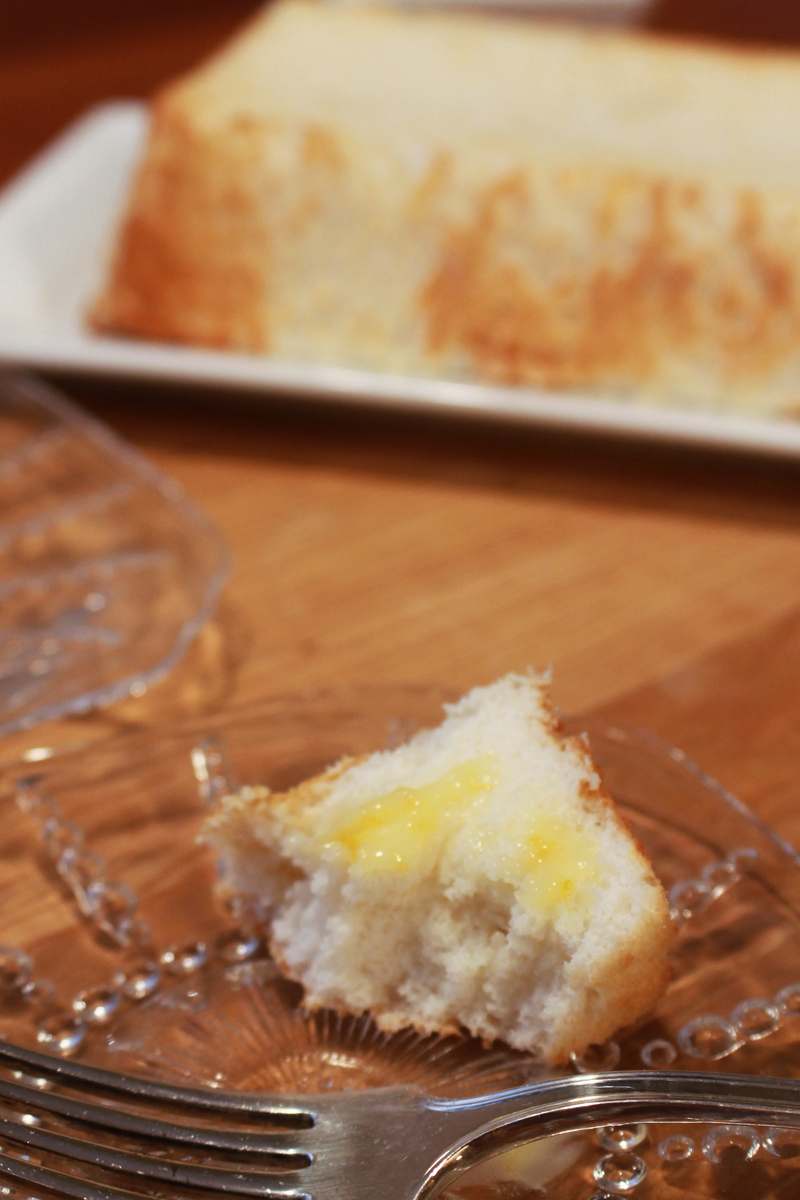
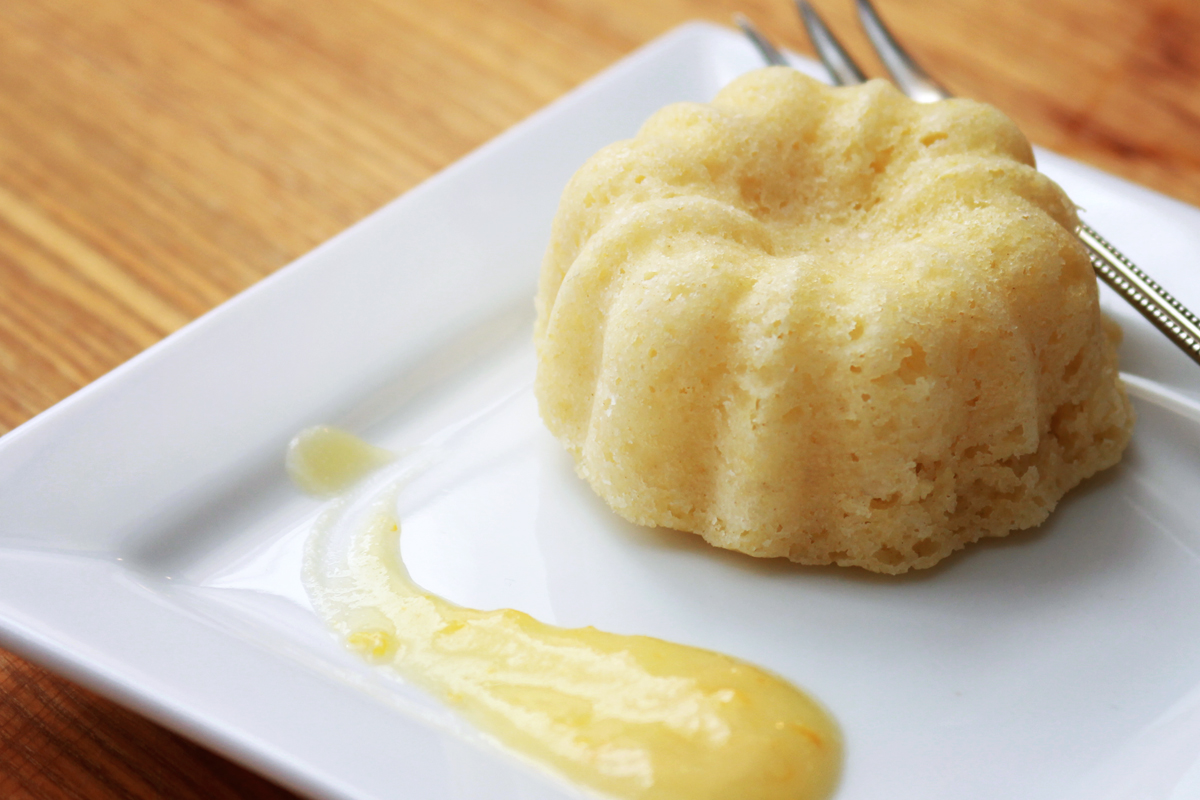
BAH Note:  As much as I can appreciate shoving this in your face straight from jar, you might want to serve it with something….maybe some Angel Food Cake?  Or I can see it being perfection in a Linzer Cookie.  Of course, a DIY hand pie is an obvious, and classic, choice.  Southern Living says this will keep in the fridge for up to two weeks.

I reduced the amount of sugar since I used Meyer Lemons.  If you are using regular lemons instead of Meyer Lemons, Southern Living calls for 2 cups of sugar.

The recipe has you cook the curd in the microwave, stirring it every minute or so.  I said it was easy, I didn’t say it wasn’t hands on. Keep in mind that you will be moving this bowl in and out of the microwave so if you have one with a handle (like a batter bowl) definitely use it.

If you prefer, you can transfer the mixture to a saucepan and cook over medium low heat for about 15 to 20 minutes, whisking constantly, until the curd thickens.

  • 1 cup lemon juice (from approximately 6 lemons)
  • 2 tablespoons lemon zest
  • 1/2 cup butter, softened
  • 2/3 cup sugar
  • 4 eggs

Using a handheld mixer on medium speed, beat butter and sugar in a medium microwave safe bowl until combined. Add the eggs, one at a time, mixing until just combined after each egg.

On low speed, slowly add the lemon juice and zest to the butter mixture.  The mixture will look curdled and broken so don’t worry that you’ve done something wrong when you see it.

Transfer the bowl to the microwave and cook on HIGH for 5 minutes, stirring every minute.  Continue to microwave on HIGH, stirring every 30 seconds, another few minutes until the mixture thickens and coats the back of a spoon.

Place plastic wrap directly on the curd to prevent a film from forming and chill in the refrigerator until cooled completely.

{printable recipe}

Angel Food Cake

cake

My Grandmother is old.  I say that because she just turned 90.  And let’s be honest….90 IS old.  But the funny thing is that in my mind, she’s always been old in an ageless sort of way.  As a child I didn’t really understand the concept of age.  I was young.  Everyone not young was old.  There was no in between.

So imagine my surprise when, as an adult, I did the math and figured out that my grandmother was only a few years older than I am now when she and my grandfather took on the responsibility for raising me and my brother.  I’m no young whippersnapper but I’m certainly not old either.  Yes, I’ve reached the point in my life where the ghosts of all kinds of youthful arrogance and naivety come back to haunt me.

Some of these moments amuse me….like how I’ve become the crotchety old lady on the block who doesn’t want the  kids loitering around my yard.  Others make me think that I’ve always had a guardian angel on speed dial….let’s just say age has made me rethink the wisdom of some of my youthful decisions.

But back to my agelessly old grandmother….as an adult I’ve had the opportunity to see her through a completely different lens.  It was when I started to see her as her own person and not merely a wife, mother, or grandmother, that I realized I did not give her enough credit for the life she has lived.  She used family, work, and faith to define herself.  I didn’t used to understand that.   Now I see it as her way of declaring I believe, I love, and I think for myself.  I may not agree with her choices but I understand they were hers to make.

Way too often we never manage to see the people closest to us as being independent of us.  We define and understand them in the way that suits us best without regard for whether or not this takes into account the fact that they are imperfect people with their own flaws and struggles.

I’m lucky.  I have had the opportunity to reach this realization and see my grandmother for herself….not for who I wished she were…and appreciate her beautiful imperfections.  I can only hope that Libby learns this life lesson a little quicker than I did.  I’ve got my fingers crossed that one day she will understand that while I may not be the person she thought I should be, I am more than a list of my imperfections.

I also hope she can tell by looking at pictures exactly how much joy she brought to one old lady.  It makes me sad to know that Libby won’t remember these early moments.  So part of my job is to share with Libby the stories about the lady who called her “My Sunshine”.  I can tell Libby how she made her very first trip to Lexington Market to pick up crabcakes for her Great Grandmother’s 90th birthday lunch.  And that when her Great Grandmother tasted this Angel Food Birthday Cake, the making of which Libby supervised from her highchair, she said it was the best one she’d ever had.

two elizabeths
two elizabeth’s – one old and one young – are the bookends of my life

Angel Food Cake

Adapted from Melissa d’Arabian

BAH Note: If you don’t have, or can’t find, superfine sugar in your grocery store, just give plain old white sugar a whirl in a food processor or spice grinder for about 15 seconds.  It may give your workbowl a sandblasted look but life is full of enough aggravations and finding sugar shouldn’t be one of them.  Be sure NOT to grease your loaf pan….the foam needs to be able to grab onto the pan to get that beautiful lift.

BAH Tip: You do need to be vigilant about not getting any egg yolks in your whites.  Your best bet is to separate the eggs one at a time into a  separate bowl.  If you get a clean catch, transfer the white to the bowl of your mixer and proceed with the next egg.  If not, you haven’t contaminated your entire batch of egg whites.  And be sure to keep those yolks for something like custard or frittata.

  • 3/4 cup superfine sugar
  • 1/2 cup all purpose flour
  • 7 large egg whites at room temperature
  • 2 teaspoons vanilla extract
  • 3/4 teaspoon cream of tartar
  • 1/4 tablespoon kosher salt

Heat your oven to 325 degrees.

Whisk together the flour with half of the sugar in a small bowl and set aside.

In the workbowl of a stand mixer fitted with the whisk attachment, whisk together the egg whites, vanilla, cream of tartar, and salt on medium low speed until the mixture begins to just get a bit foamy.  Slowly add the other half of the sugar and continue to mix until soft peaks form.  It will take a few minutes but be patient here and let the mixer do its thing.  If crank up the speed thinking you’ll save time, you might overmix your whites.

Once you have soft peaks, turn off the mixer.  Sift half of the sugar/flour mixture onto your egg whites and use a spatula to fold them in. Sift the remaining sugar/flour and fold to incorporate.  Pour the batter into an ungreased metal loaf pan and bake for 35 to 40 minutes.

Remove the pan from the oven, take a deep breath, and turn the pan upside down onto two cans (there should be one can under each of the pan’s nubby handles).  I promise, the cake will not fall out.  Allow to cool for 1 hour and then run an offset spatula, knife, or pancake flipper around the edges of the cake to loosen it from the sides of the pan.  Turn the cake out to cool completely on a rack.  Use a serrated knife to slice.

{printable recipe}